Build a Markdown-based Blog with Spring Boot - Part 6
This will be the final part of this series. For previous parts, please check: Part 1 | Part 2 | Part 3 | Part 4 | Part 5
Recap
By now, we have a complete blogging system set up. We add Markdown files to the resources/posts directory and our ContextEventListener class, upon a ContextRefreshedEvent, populates the database with the content from new Markdown files. Then, on the client side, when we request for a specific blog post by its ID, the PostController.getPostById method adds the respective post as a model attribute and returns the appropriate view to render.
What now?
We need to host our database in RemoteMySQL, push our repository to GitHub,and then deploy the repository to Heroku. But before that, let's add some new files to our repository.
Specify the Java Runtime
We need to specify the Java Runtime version to be used for our application. In the root directory of our project, create a new file system.properties and specify the Runtime version as 11.
Create a Heroku profile
We used the application.properties file for our development environment; but for deployment to Heroku, we will need a new set of properties. Create a application-heroku.properties file inside the resources directory.
We specify the datasource URL, username, and password as environment variables from within our Heroku environment. We also set the automatic database initialization provided by Hibernate to update; so, Hibernate checks for the tables and if a table doesn't exist, then it creates new tables.
So basically, we will provide four configuration variables (or Config Vars) to our Heroku deployment.
- DATASOURCE_URL
- DATASOURCE_USERNAME
- DATASOURCE_PASSWORD
- spring_profiles_active
If we set the variable spring_profiles_active to Heroku, Spring Boot automatically loads the appropriate properties file (i.e., application-heroku.properties).
RemoteMySQL
Now onto our production database, register for an account in RemoteMySQL. After you are a registered user, you can create a new database; after which RemoteMySQL provides you with details about your credentials, including the username, database name, password, port, host, etc. Keep these secure as we need to pass these as Config Vars to our Heroku deployment.
In the DATABASES section, go to the Action tab of your database (the one you created just now), and click on phpMyAdmin. RemoteMySQL provided a GUI for interacting with our relations.
In the phpMyAdmin page, login with username and password that you received just now.
GitHub
Before proceeding any further, make sure you've committed your changes and pushed them to the remote repository.
Heroku
If you're new to Heroku, first register for an account. Then, from the dashboard, create a new application with New > Create new app.
Now we can specify our deployment method. In the following page, select GitHub as the deployment method and select the repository and connect it to Heroku. Then just below, select the branch to trigger automatic deployment and click the Enable Automatic Deploys button. For me, it is the main branch.
This means that whenever I push something (for instance a new Markdown file inside resources/posts directory), Heroku reflects those changes in the deployed application. We do not need to redeploy the application.
Following this, go to the Settings tab and click the Reveal Config Vars button. Now we can add all the required configuration variables we discussed above.
- Set the DATASOURCE_URL variable as jdbc:mysql://remotemysql.com:3306/your-database-name
- Set the DATASOURCE_USERNAME variable as the username you received from RemoteMySQL.
- Set the DATASOURCE_PASSWORD variable as the password you received from RemoteMySQL.
- Set spring_profiles_active variable as heroku
Finally, go back to the Deploy and click on the Deploy Branch button to manually deploy the application for the first time.
Live deployment
If the build process didn't end up in an error, you should be able to open the application and see your blog posts live.
Adding new blog posts
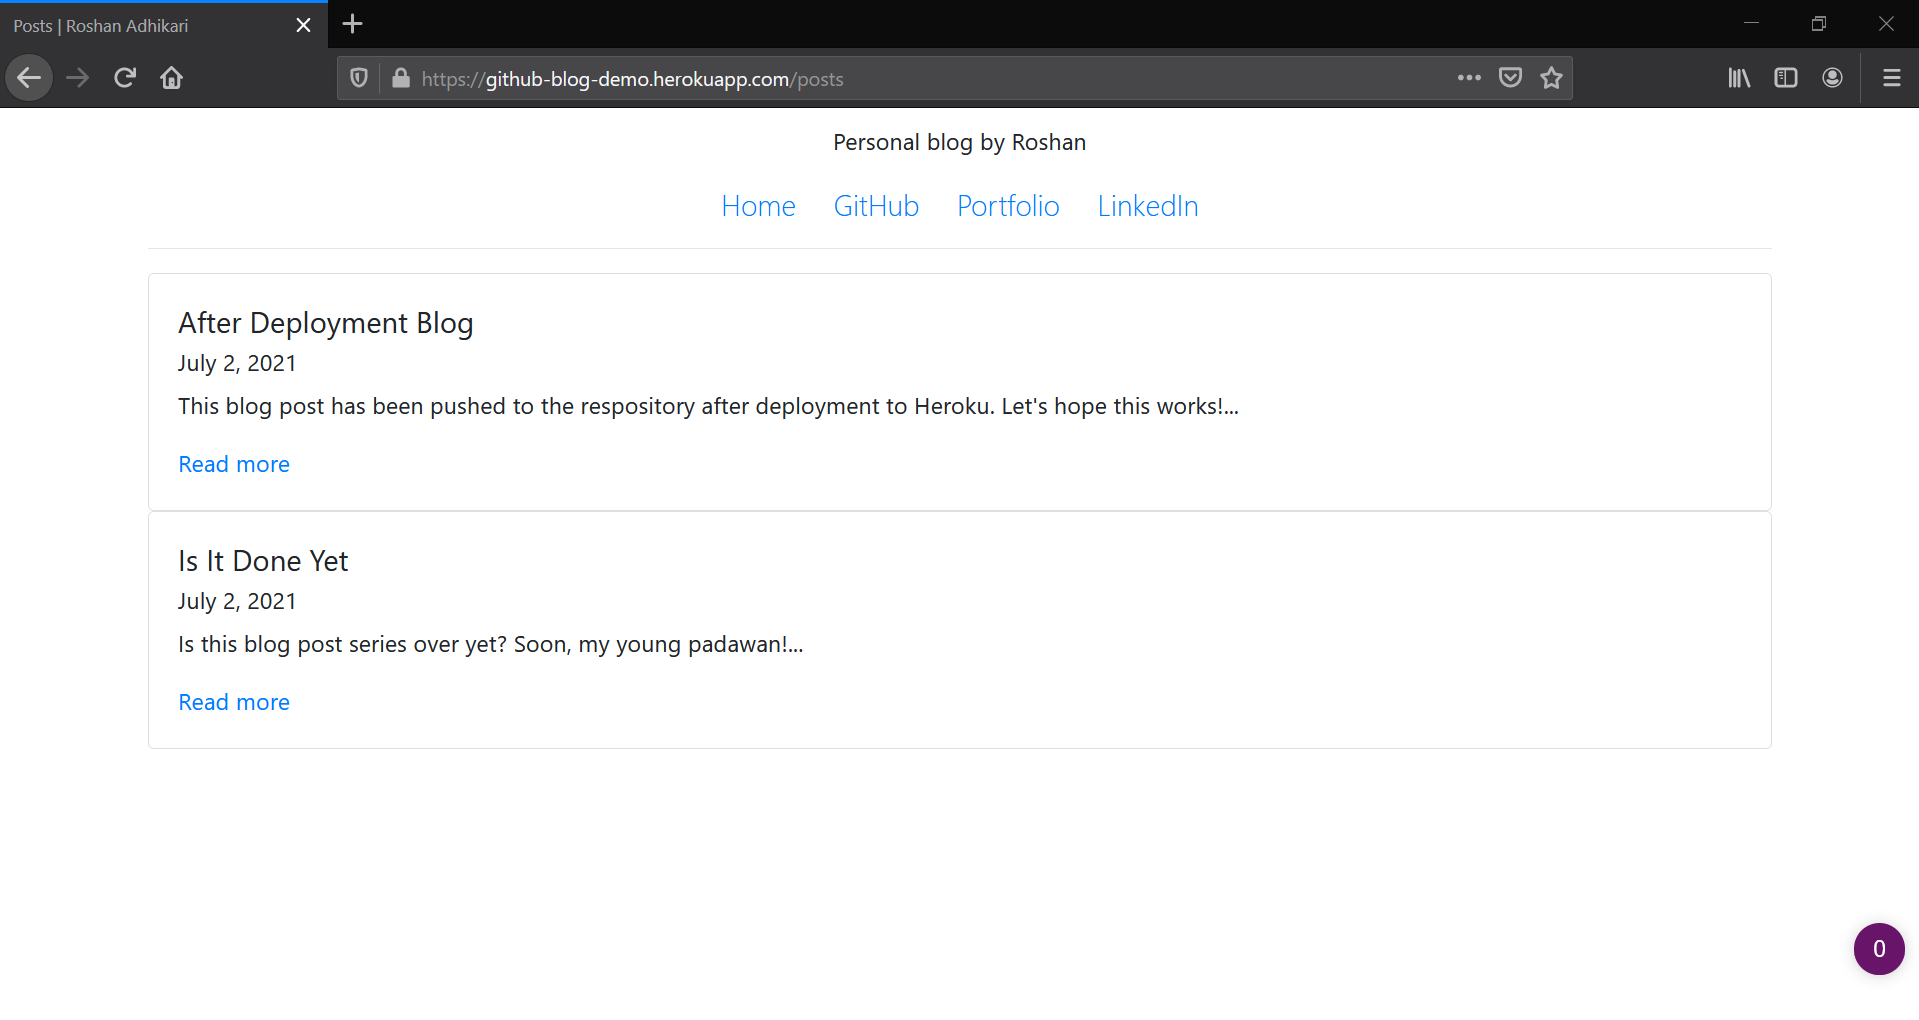
Too see if the deployment mechanism works, let us create a new Markdown file, 6_After_Deployment_Blog.md, inside the resources/posts directory in our local repository.
Now, commit the change and push it to the remote repository's main branch. Note that I am pushing to my main branch because that's the branch I set to trigger automatic deploys in Heroku. If you had set another branch, then you should push your changes to that branch.
After you've pushed your changes, you should see a "Build started by ..." message in the logs of your Heroku application. This means that our application's automatic deployment feature is working as intended.
To check the logs of your application, go to dashboard.heroku.com/apps/<your-app-name>/logs
After the build completes, open your deployment to see if the new post is available. In my case, it is.
Wrapping up
This concludes the series. We have built a blog application that reads Markdown files and populates the database with its content. Whenever we push a new Markdown file to our GitHub repository, Heroku automatically deploys the changes in our application.
Note that there are several limitations with the free database we use from RemoteMySQL. Read them here.
All of the code associated with the project have been published in the GitHub repository.
The blog is deployed here, if you want to take a look.


